We took on a number of outdoor projects over the summer, most of them using treated lumber. That meant the time between build and finish was LONG. We sat with amazing projects that were waiting for paint or stain (or both) while we allowed the treated lumber to completely dry out.
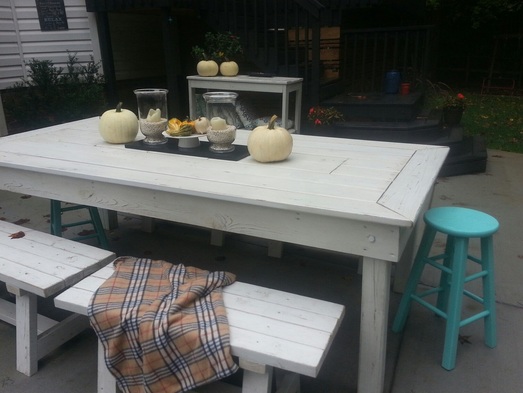
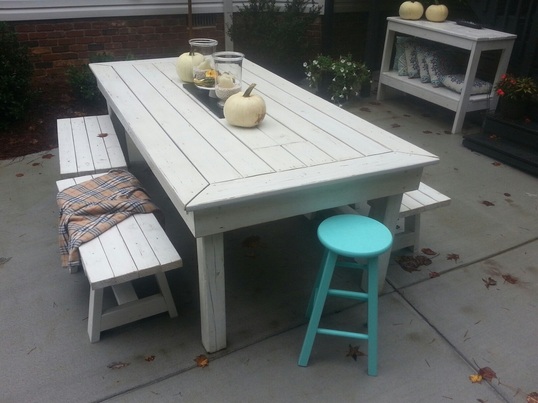
You might have caught a peek here or there of the naked unfinished pieces, but now that we've really finished them, I can show you more of what we've done. We've already shown you how the deck turned out (still loving it!), but now we can show you some after pics of the patio table, benches and buffet that we put together.
You might have caught a peek here or there of the naked unfinished pieces, but now that we've really finished them, I can show you more of what we've done. We've already shown you how the deck turned out (still loving it!), but now we can show you some after pics of the patio table, benches and buffet that we put together.
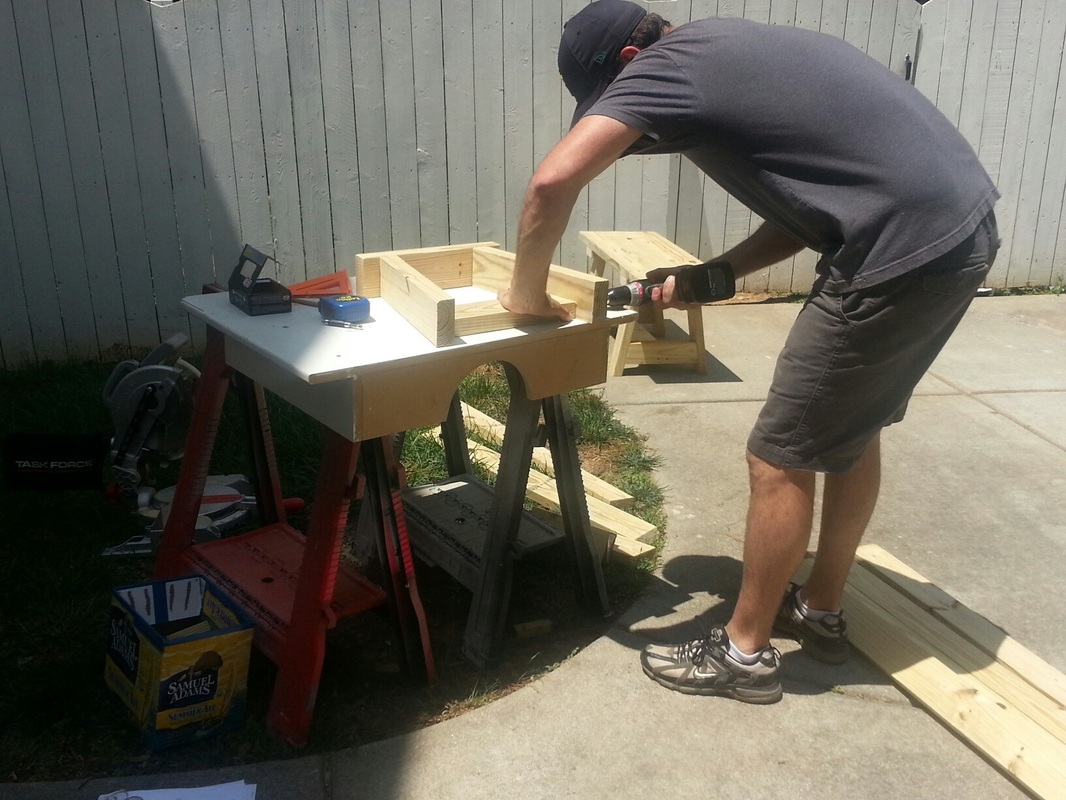
Vern and I talked through what we wanted, the scale of the furniture (we both agreed we needed a BIG outdoor table) and placement. Shortly after our discussion, I sketched out a little drawing, and he went to work with power tools.
  |  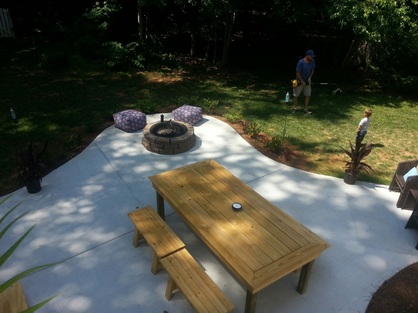 |
Not too shabby even naked, right? We used this set up a ton throughout the summer, but we knew how much better it would look, and the difference it would make on the overall look of the patio, once we put our finishing touches on these pieces.
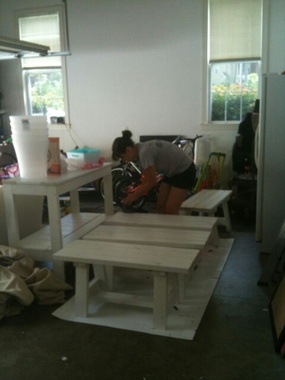
First, we painted all of the newly constructed furniture white. This included the 4 benches, the table and the buffet. Then, I took a sander to each piece, giving special attention to the edges and corners, to give it a roughed up/distressed look.
First, we painted all of the newly constructed furniture white. This included the 4 benches, the table and the buffet. Then, I took a sander to each piece, giving special attention to the edges and corners, to give it a roughed up/distressed look.
 |  |
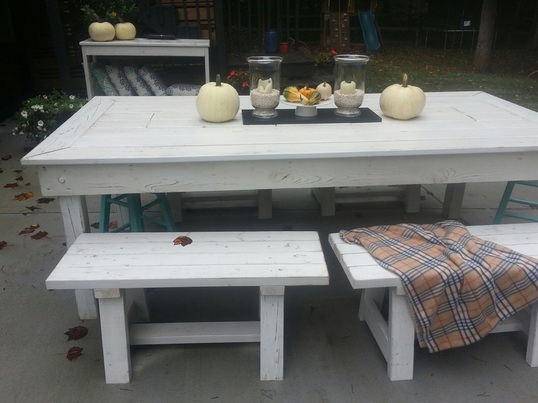
Once everything was sanded to satisfaction, it was time for the stain. I applied stain on top of the paint to create a weathered look that gave the furniture a bit more character. I used my old standby (LOVE this color), Minwax in Special Walnut.

Here's the difference in the look with and without the sanding/staining treatment.
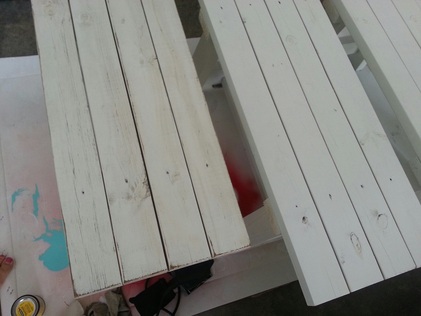
The bench on the left has been roughed up and stained, and the one on the right is just the straight cuts with white paint. They look great with just white, so I could've stopped there and it would have been fine, but I prefer the distressed look. Here's another more squared up shot to show the difference.
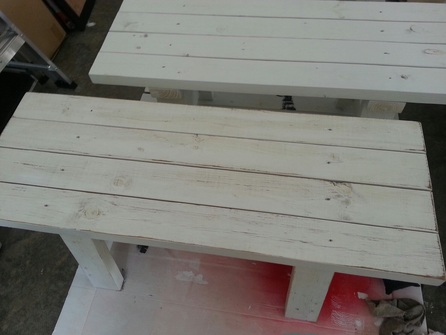
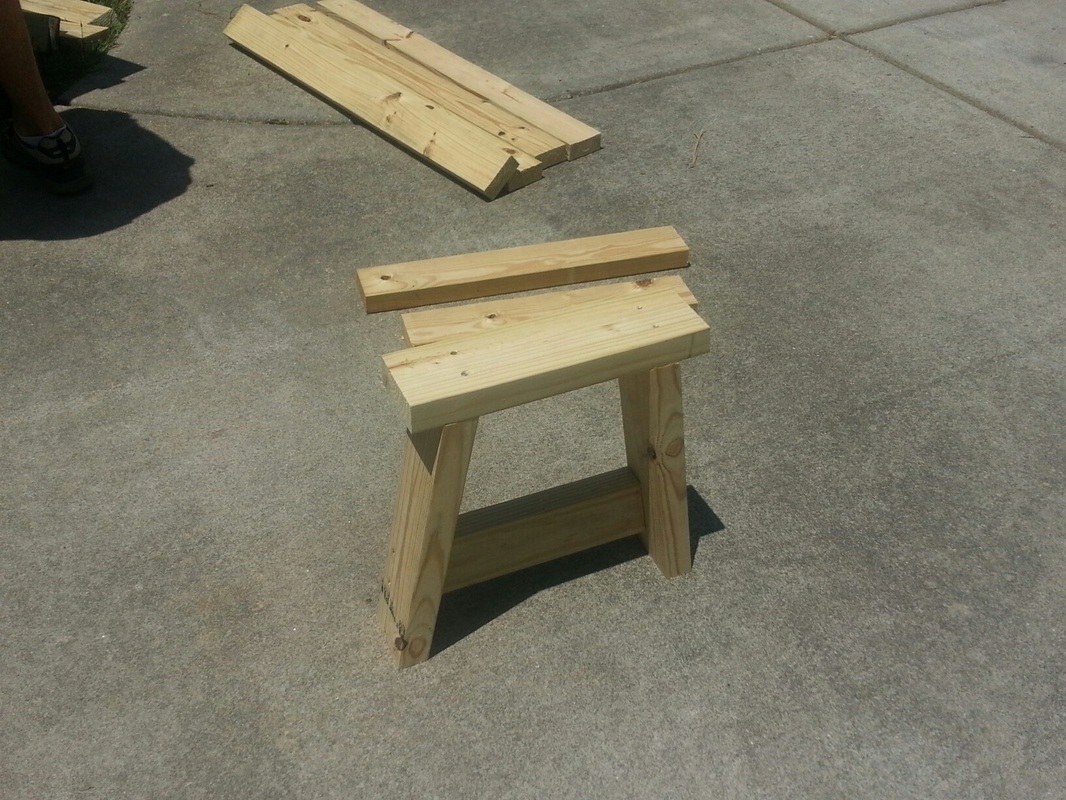
We wanted each bench to be a two seater, and to be in scale with our oversized table, which is why we made the benches using four 2 x 4s instead of only 3.
Here's the break down on the all 6 pieces of patio furniture:
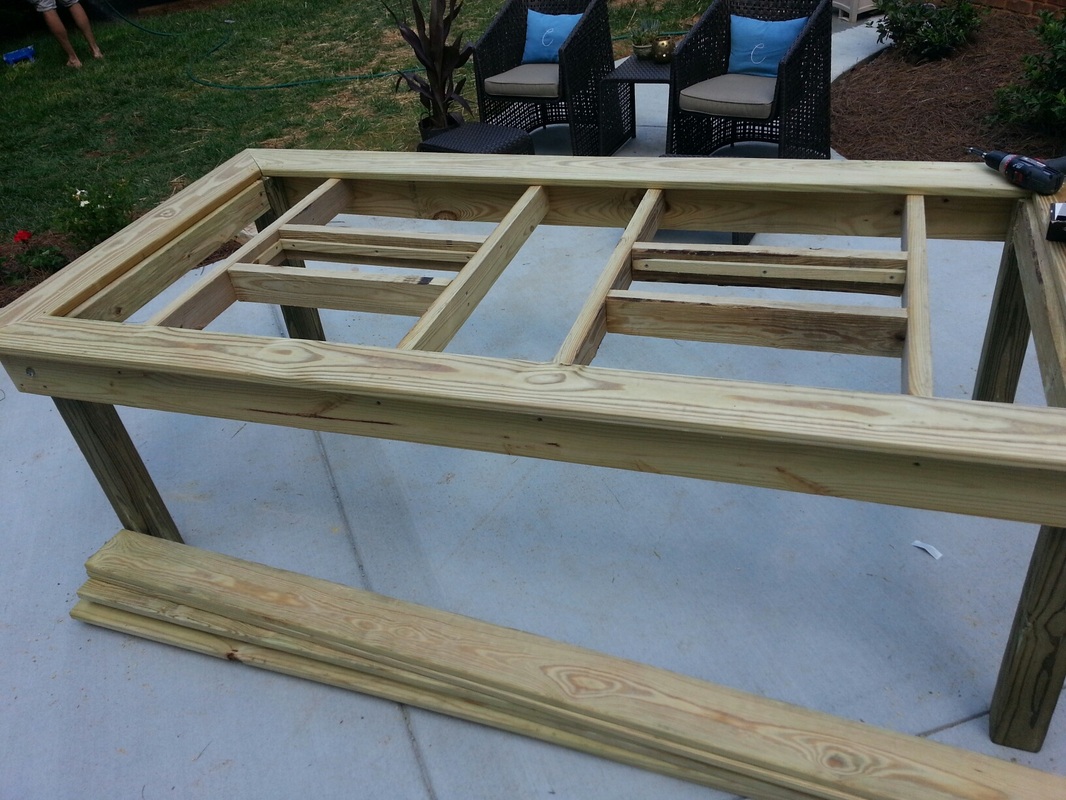
Table (seats 10)
Measures 96"L x 48"W x 32"H
The top of table was made using 5/4 treated deck boards.
The frame was made using treated 2x6s that were bolted onto treated 4x4 posts for legs.
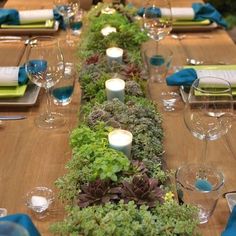
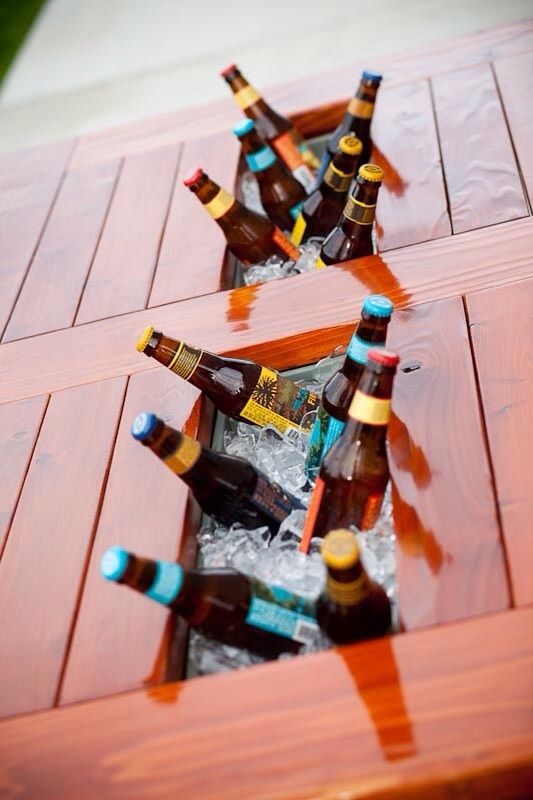
Internal frames for two ice box insets using treated 2x4s so that we can do this or this when entertaining.
Benches (4 benches, each seating 2)
Measures approximately 45"L x 14"W x 18"H
All benches were made using 2x4 treated lumber construction (frames and tops).
Total cost to make each bench was just under $10!
Buffet
Measures approximately 48"L x 16"W x 36"H
Treated 2x4s were used for the legs and the frame.
The top of the buffet was made using 5/4 treated deck boards.
Trim screws with small heads were used and were countersunk to allow for a rustic look without the distraction of obvious screws.
Once constructed, as with all treated lumber, we had to wait it out to allow the wood to cure. The recommendation is to let treated lumber stand and cure out for at least 30 days (and even longer in rainy weather) before applying any paint, stain or treatment.
We erred on the side of caution, because we had an especially rainy summer, and waited until fall to finish it up. Using the handy dandy paint sprayer, all pieces were given two coats of Valspar off the shelf exterior white in satin finish. The sprayer made the job go MUCH quicker, and because I was going to be sanding and roughing up the pieces, we weren't so worried about small drips here and there. Not that I had to worry much with that anyway, as Vern has gotten the spraying thing down pat.
We are LOVING how these turned out!
Here's the break down on the all 6 pieces of patio furniture:
Table (seats 10)
Measures 96"L x 48"W x 32"H
The top of table was made using 5/4 treated deck boards.
The frame was made using treated 2x6s that were bolted onto treated 4x4 posts for legs.
Internal frames for two ice box insets using treated 2x4s so that we can do this or this when entertaining.
Benches (4 benches, each seating 2)
Measures approximately 45"L x 14"W x 18"H
All benches were made using 2x4 treated lumber construction (frames and tops).
Total cost to make each bench was just under $10!
Buffet
Measures approximately 48"L x 16"W x 36"H
Treated 2x4s were used for the legs and the frame.
The top of the buffet was made using 5/4 treated deck boards.
Trim screws with small heads were used and were countersunk to allow for a rustic look without the distraction of obvious screws.
Once constructed, as with all treated lumber, we had to wait it out to allow the wood to cure. The recommendation is to let treated lumber stand and cure out for at least 30 days (and even longer in rainy weather) before applying any paint, stain or treatment.
We erred on the side of caution, because we had an especially rainy summer, and waited until fall to finish it up. Using the handy dandy paint sprayer, all pieces were given two coats of Valspar off the shelf exterior white in satin finish. The sprayer made the job go MUCH quicker, and because I was going to be sanding and roughing up the pieces, we weren't so worried about small drips here and there. Not that I had to worry much with that anyway, as Vern has gotten the spraying thing down pat.
We are LOVING how these turned out!
Do you have any outdoor projects you're trying to wrap up before holiday/winter season hits?


 RSS Feed