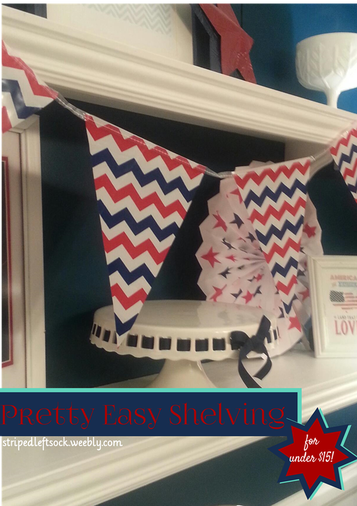
No kidding. This is an incredibly simple how-to on some shelving that you can put together in an afternoon, but that looks like you could've ordered it from Ballard Designs. Pretty.Easy.Shelves.
Here's a picture of the listing for Ballard Designs café shelves taken straight from their website. List price is $109-$179. Eek!
Here's a picture of the listing for Ballard Designs café shelves taken straight from their website. List price is $109-$179. Eek!
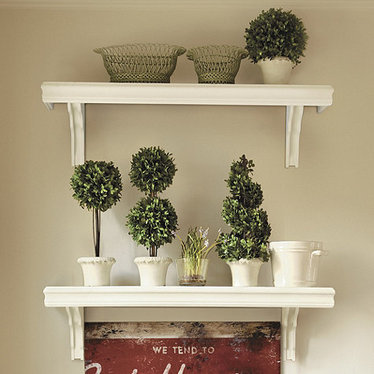
These are so pretty, but a little too expensive for a couple of shelves. I decided I could make similar shelving for my dining room for a LOT less money. I grabbed Vern and headed to Lowe's to pick up the supplies we would need.
MATERIALS:
8" wide plank(s)
Door casing
Corbels or brackets
Brad nailer
Wood glue
Wood screws
Wood putty/filler
Sand paper
Paint
We measured the length above our buffet to determine shelving size, as any shelving would be centered up above buffet. We ultimately decided to cut two shelves at 40 1/2" and one smaller shelf at 33 1/2".
Once our planks were cut, we simply needed to cut the door casing (we bought 2 eight foot long pieces) to dress the front and two sides of each shelf. Each door casing cut was made at 45 degrees to frame out and dress each shelf nicely.
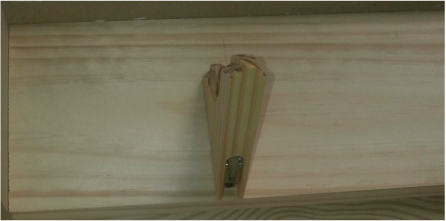
We used wood glue to attach the casing to the planks and then followed up with the brad nailer to secure each piece. We looked for some thick corbels to attach, but couldn't really find any that we liked. We didn't want anything too ornate. We opted for a simple wood bracket that was predrilled and ready to be hung. Vern attached the wood brackets to the underside of the plank with wood screws, making sure to keep the edge of the bracket flush with the back edge of the plank.
I loved that these brackets came with mounting hardware and were ready to go!
MATERIALS:
8" wide plank(s)
Door casing
Corbels or brackets
Brad nailer
Wood glue
Wood screws
Wood putty/filler
Sand paper
Paint
We measured the length above our buffet to determine shelving size, as any shelving would be centered up above buffet. We ultimately decided to cut two shelves at 40 1/2" and one smaller shelf at 33 1/2".
Once our planks were cut, we simply needed to cut the door casing (we bought 2 eight foot long pieces) to dress the front and two sides of each shelf. Each door casing cut was made at 45 degrees to frame out and dress each shelf nicely.
We used wood glue to attach the casing to the planks and then followed up with the brad nailer to secure each piece. We looked for some thick corbels to attach, but couldn't really find any that we liked. We didn't want anything too ornate. We opted for a simple wood bracket that was predrilled and ready to be hung. Vern attached the wood brackets to the underside of the plank with wood screws, making sure to keep the edge of the bracket flush with the back edge of the plank.
I loved that these brackets came with mounting hardware and were ready to go!
Once the shelf was assembled, we filled all of the nail holes with wood putty, let it dry, and sanded them down. Now they were ready for a little white paint!
 | 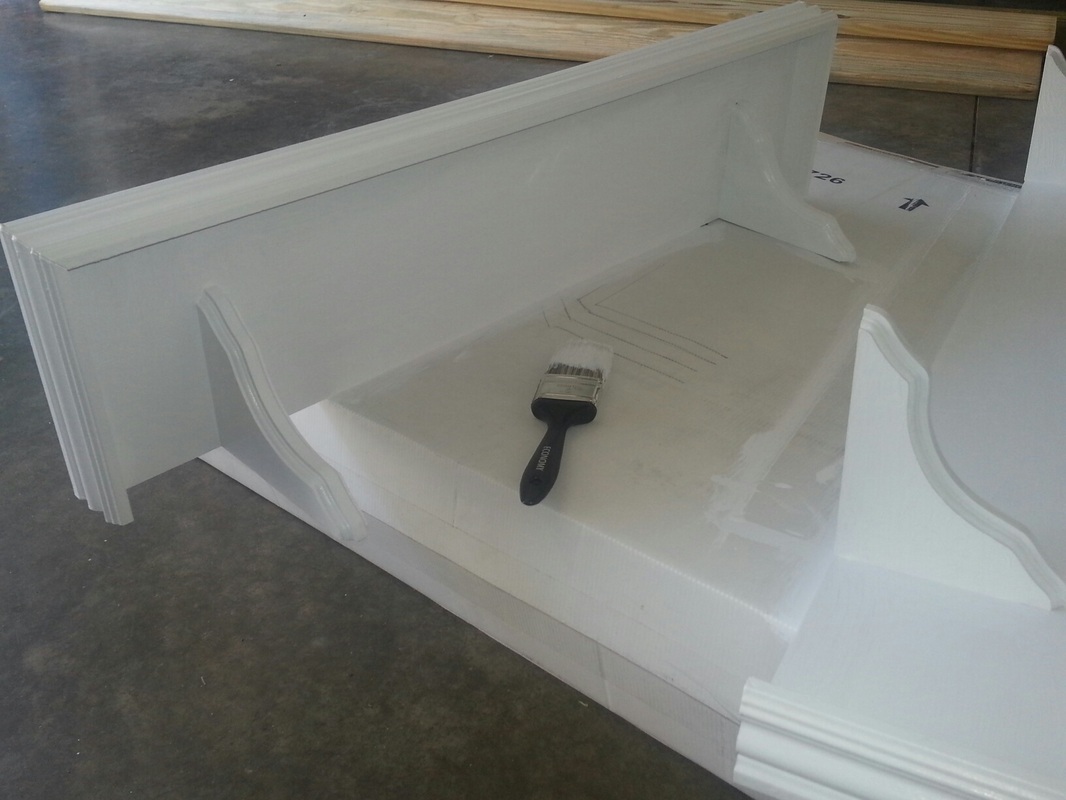 |
After two coats, they were ready to placed. D-O-N-E!
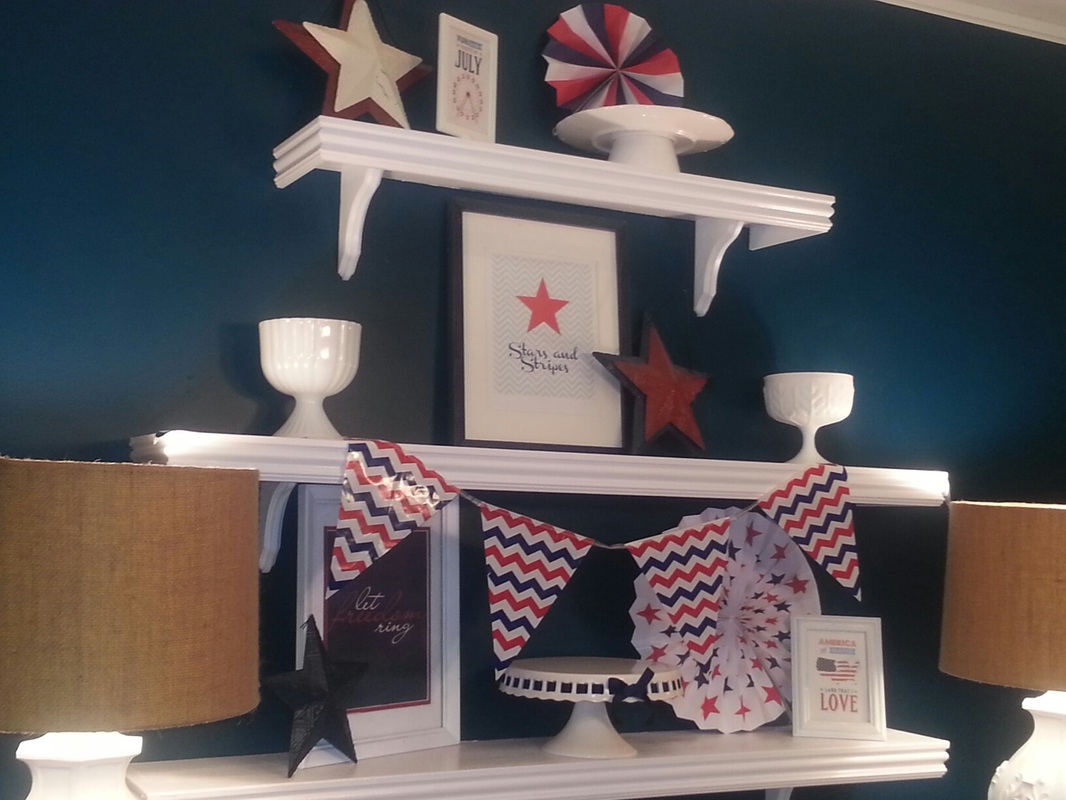
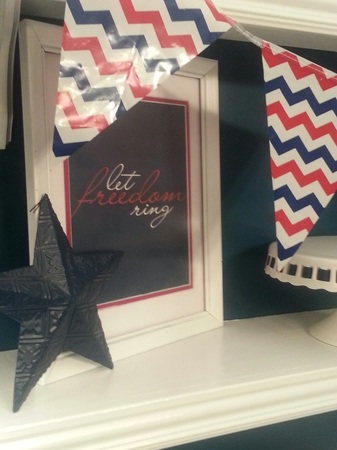
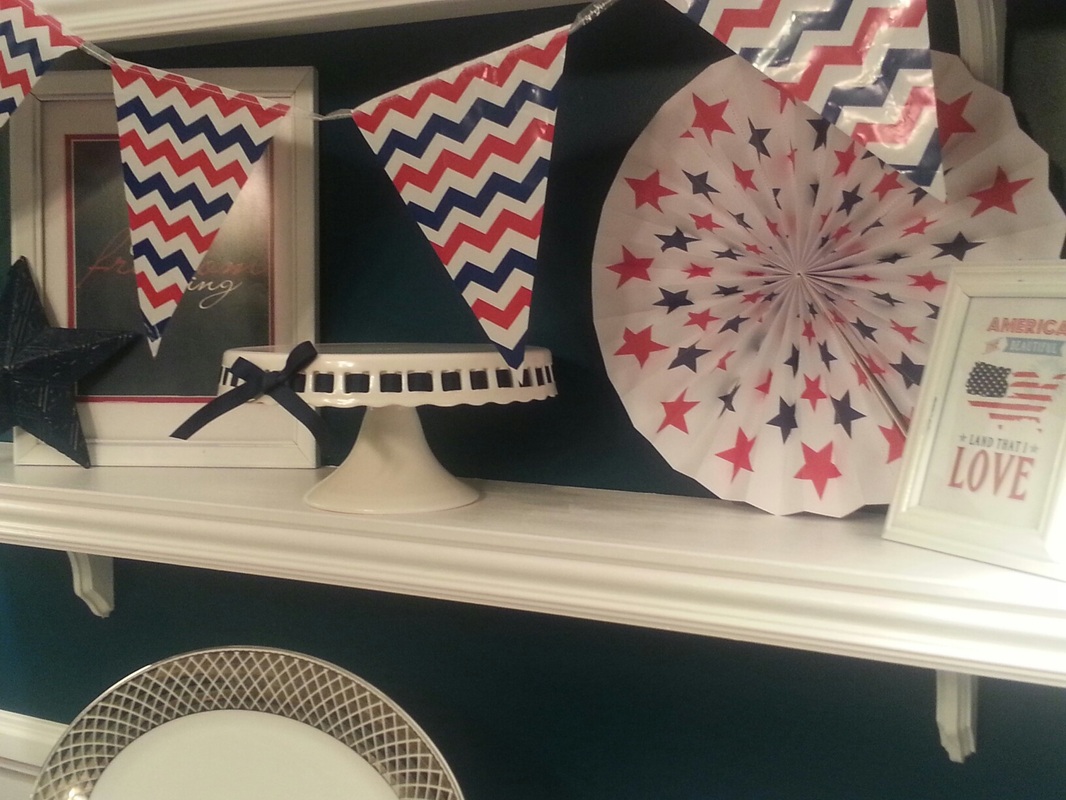
See...pretty easy, right? And for less than $15 per shelf!

 RSS Feed