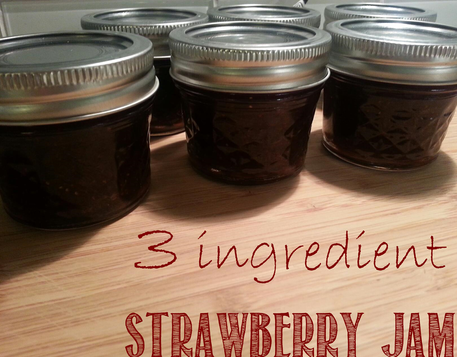
I made this yummy recipe up recently to hand out at Ethan's birthday party to each family. Of course, we made sure to keep a large mason jar for ourselves!
INGREDIENTS
About 5 lbs. of strawberries
6 cups of sugar
1/2 cup of lemon juice
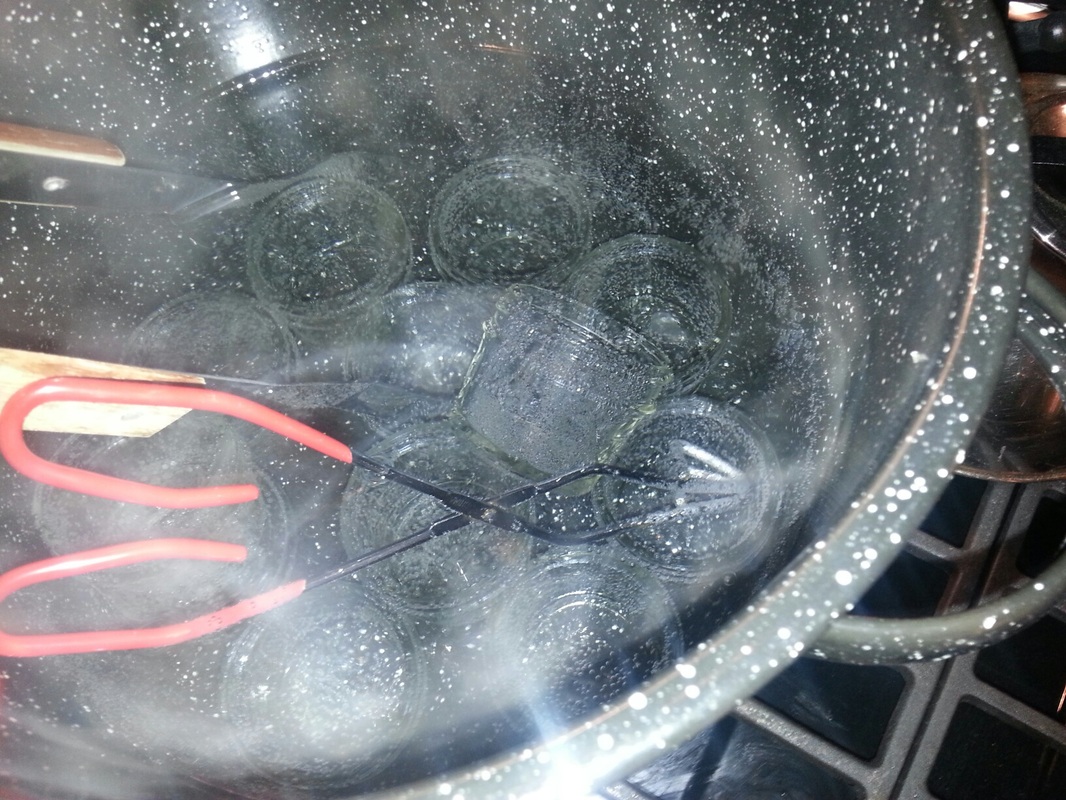
Use a large stock pot to sterilize your jars. Make sure jars are completely covered with water and bring to a low, rolling boil. Keep jars hot until ready to use.
(I put my lids and rings in a smaller, separate pot of water and kept hot until ready to use.)
INGREDIENTS
About 5 lbs. of strawberries
6 cups of sugar
1/2 cup of lemon juice
Use a large stock pot to sterilize your jars. Make sure jars are completely covered with water and bring to a low, rolling boil. Keep jars hot until ready to use.
(I put my lids and rings in a smaller, separate pot of water and kept hot until ready to use.)

In a second large pot, bring cleaned and cut strawberries to a simmer over medium-low heat while mashing. Decide how chunky you want your jam and mash accordingly. I didn't want mine too thin, but I also didn't want too many large chunks, so I fell somewhere in the middle.
Stir in sugar and lemon juice and bring to a boil for 30-50 minutes. Keep stirring throughout this process and skim off any foam as it accumulates on the surface.
Stir in sugar and lemon juice and bring to a boil for 30-50 minutes. Keep stirring throughout this process and skim off any foam as it accumulates on the surface.
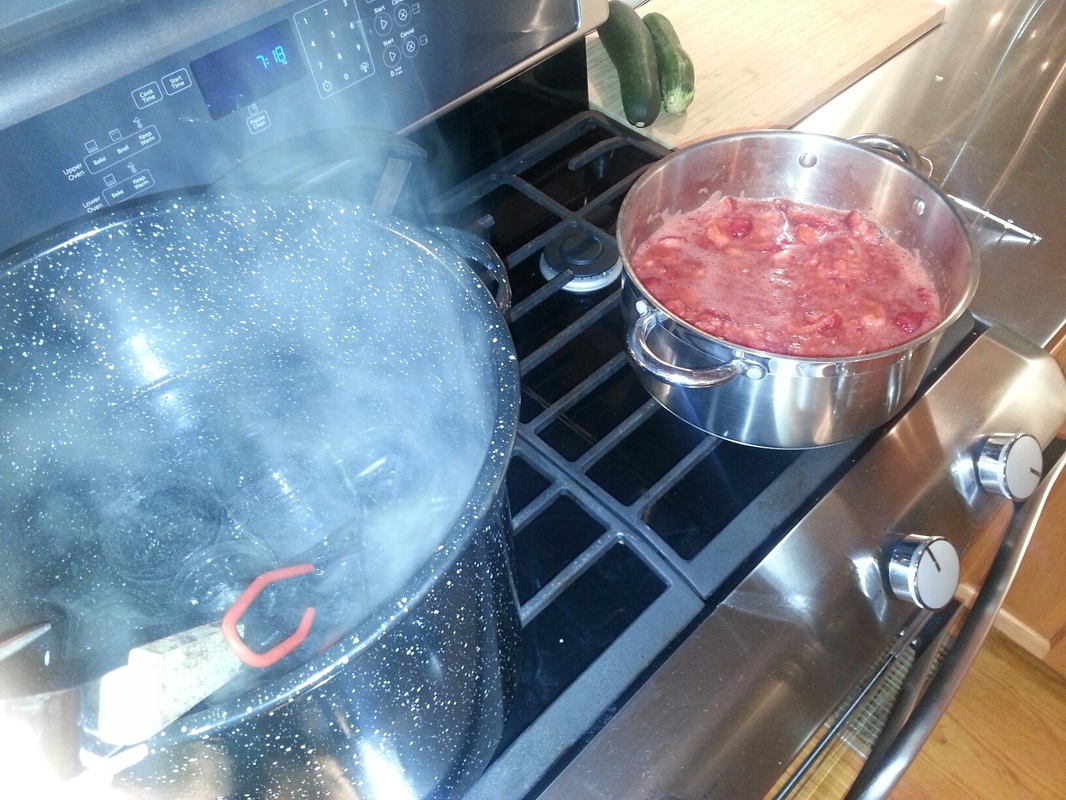
You'll know your jam is ready by using the plate test: Keep a spoon in a glass of ice water and periodically (after about the 30 minute mark) take a spoonful of jam and drop it onto a plate. Tilt plate. If the jam is runny (like syrup), it is not ready. It will need to boil longer. If it creeps or needs to be pulled with the spoon to move down the plate, it is ready.
My batch took about 45 minutes.
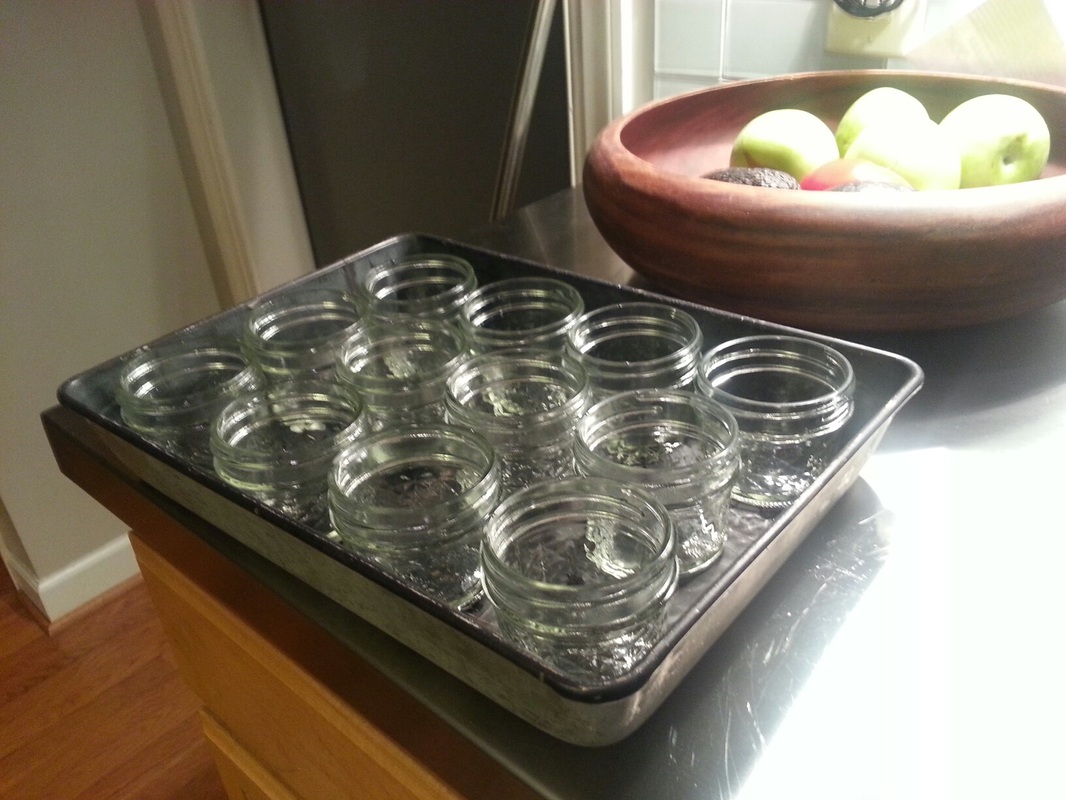
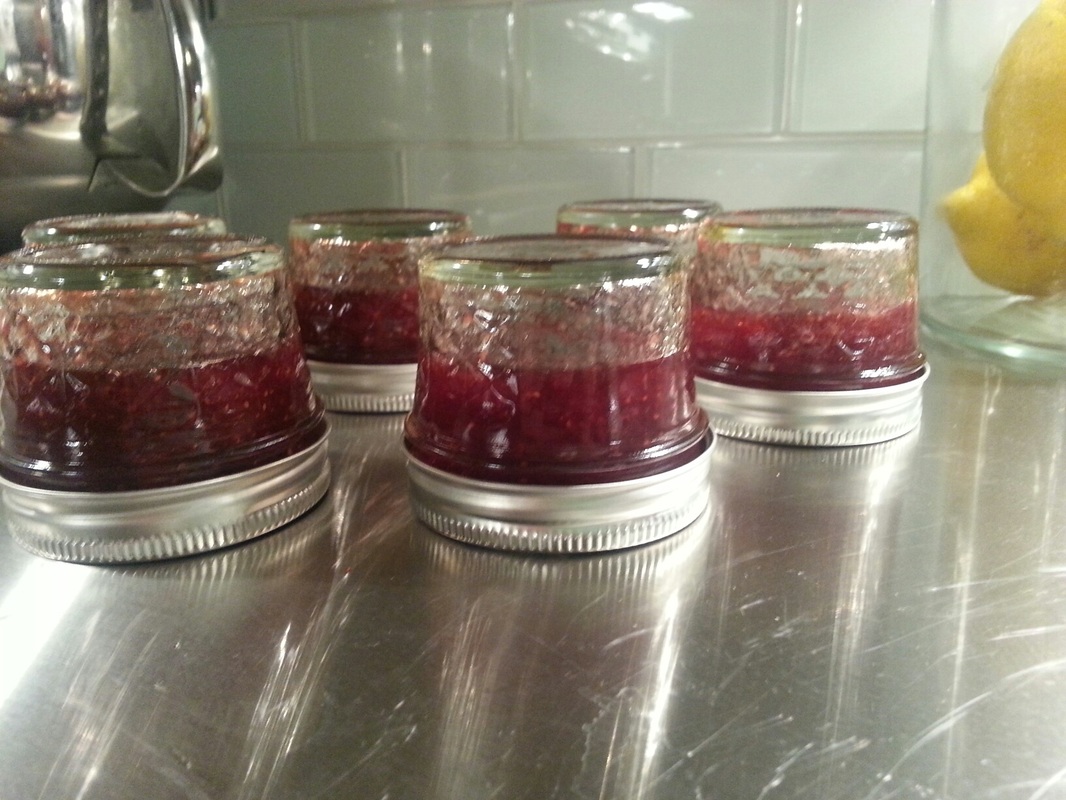
When the jam is ready, take jars out of boiling water with tongs and--using a canning funnel or even just a spoon-- fill each jar to about 1/4 inch from the top. This is called headspace and is important for sealing properly. Make sure to wipe down the jars to remove any sticky residue.
My batch took about 45 minutes.
When the jam is ready, take jars out of boiling water with tongs and--using a canning funnel or even just a spoon-- fill each jar to about 1/4 inch from the top. This is called headspace and is important for sealing properly. Make sure to wipe down the jars to remove any sticky residue.
After filling jars, add lids and rings to each and tighten just until finger tight. Immediately flip jar upside down. Leave for 30-40 minutes.
After 30-40 minutes, flip jars upright and check jar seals by pressing on center of each lid. If the lid center is pulled down and does not move, it has a good seal. If not, flip the jar back over and wait another 30 minutes. If, after that, the seal still isn't good, place jar in refrigerator. The jam is fine and can be eaten, but it will need to remain refrigerated.
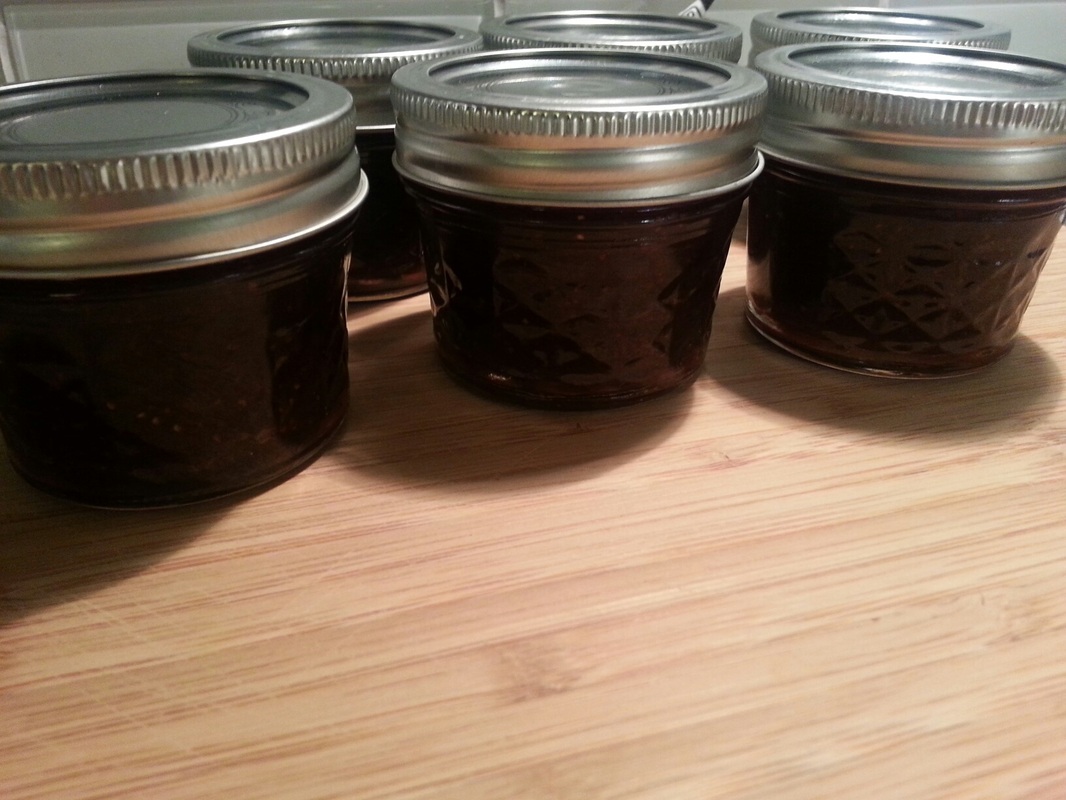
My batch made up twelve 4 oz. jars and most of one 32 oz. mason jar, so... close to twenty 4 oz. jars of jam. These were the perfect size for little giveaways at the party, and they would make great additions to a gift basket as a housewarming present or during the holidays. Or you could just store and feast on this deliciousness all by yourself!
My batch made up twelve 4 oz. jars and most of one 32 oz. mason jar, so... close to twenty 4 oz. jars of jam. These were the perfect size for little giveaways at the party, and they would make great additions to a gift basket as a housewarming present or during the holidays. Or you could just store and feast on this deliciousness all by yourself!
 RSS Feed