I got a little crafty with the kiddos over the weekend. It was a full on love fest.
Heartstring
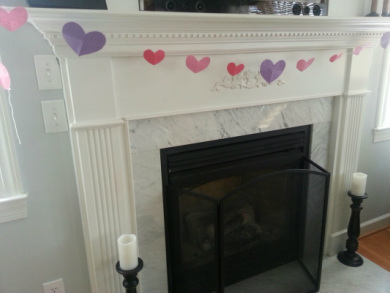
First, we cut hearts out of construction paper and attached to some string to make a decoration for the fireplace. I just attached with tape to the back of each heart. Some of the hearts started to flip when I hung the string up, so I added an extra piece of tape to the bottom of those (on the backside) in order to weigh the bottom down enough to keep the heart from tipping over.
I'm a sucker for you
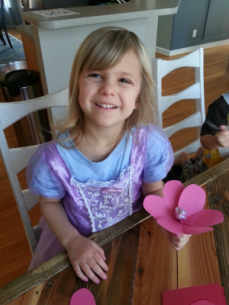
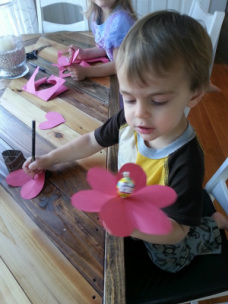
We then cut out a few more hearts to make lollipop flowers. This would make an excellent Valentine's Day gift for a teacher (or even classmates if you're up to making 25 of these bad boys).
1. Cut three equal sized heart shapes. (I used bigger hearts here, but slightly smaller would probably work even better.)
2. Line up the points of each heart to the center, but slightly overlapping one another.
Poke a hole through all three overlapping points with a toothpick.
3. Slide the lollipop through the center.
4. Write a message on the "petals" if desired.
 |  |
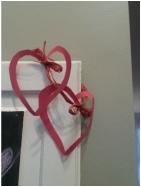
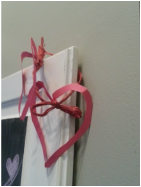
Love Loopty Loop
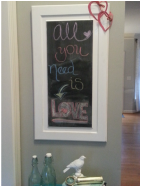
The hearts cut out for the lollipop flowers (above) left heart shaped frames in the construction paper. I cut those out and strung a couple together with some leftover red raffia I had around. This made for a cute heart loop I could toss onto the corner of the chalkboard sign I have in my entry way.
 |  |  |
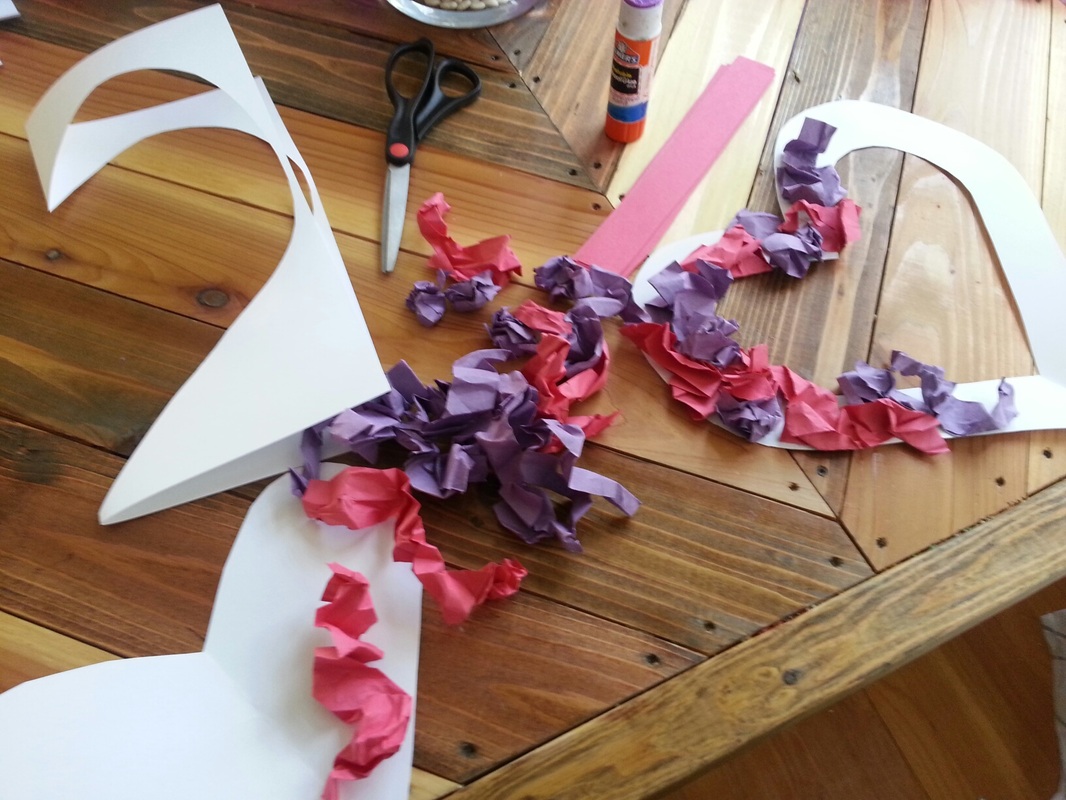
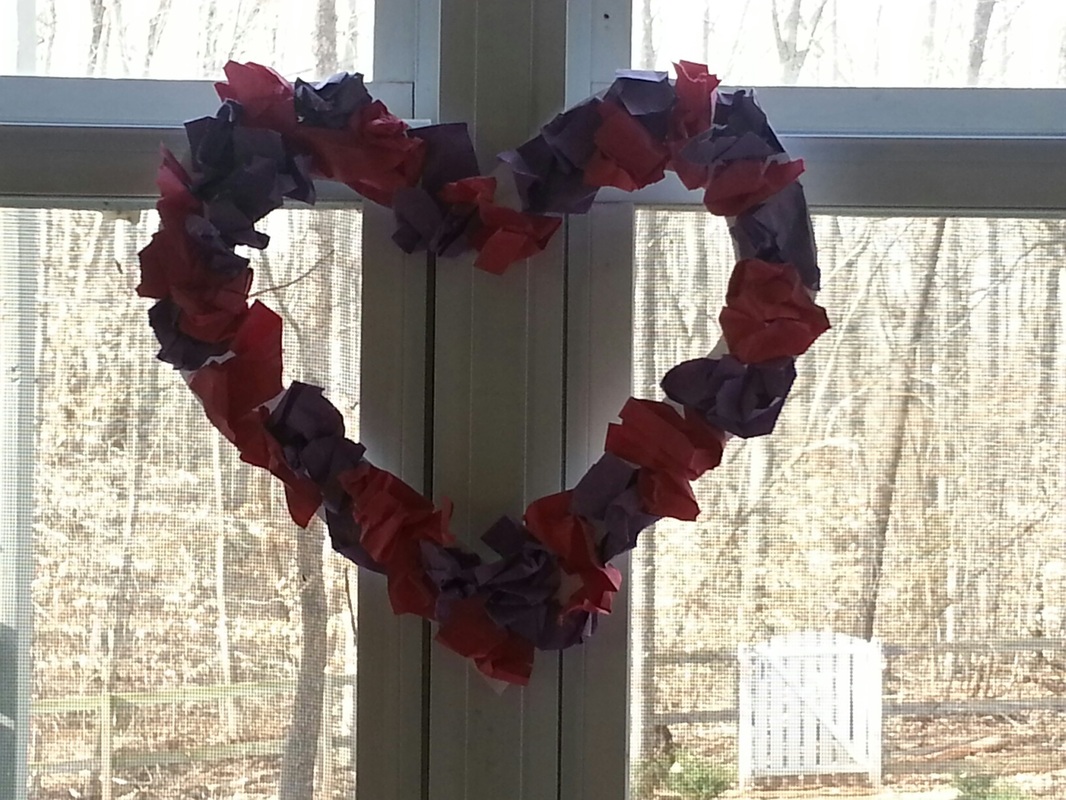
Crinkle Heart
I needed to switch out the snowflakes on our kitchen window with something a little more lovey dovey. So I worked with what I had and (once again) used construction paper.
1. Cut a large heart shape and then cut a smaller heart shape out of the large heart you just created, leaving a large heart frame. (I had some heavy weight paper around, so I used that as my form, but you could really use anything you have. You could try scrapbook paper, cardboard or even a paper plate.)
2. Cut several strips of construction paper in the colors you'd like to use on your heart.
3. Apply glue stick to your frame, making sure to only do a small section at a time so that your glue doesn't dry out before you get to it.
4. Wad up a few of your cut strips so that they're crumpled and crinkly.
5. Apply to the glue on the frame.
 |  |  |
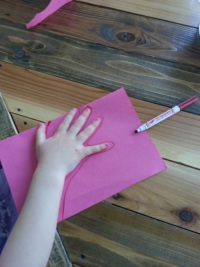
Heart in my hands
Ella loved this one, and I did, too! It has a personal touch and is such a sweet way to send an "I Love You" to someone on Valentine's Day.
1. Fold construction paper in half in the standard about-to-make-a-card formation.
2. Have your little one lay their hand flat, making sure their thumb touches the fold, and trace.
1. Fold construction paper in half in the standard about-to-make-a-card formation.
2. Have your little one lay their hand flat, making sure their thumb touches the fold, and trace.
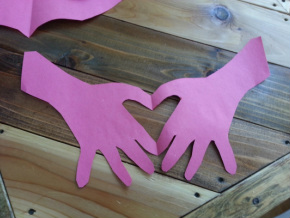
3. Cut out hand shape, making sure to not cut the folded edge where the forefinger and thumb touch the crease.
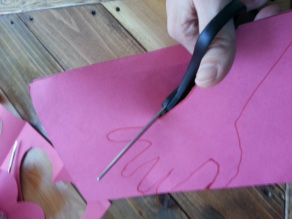
4. Unfold and add desired message for an adorable card.
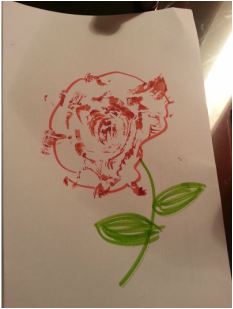
Flower Power
We had a little fun with this one. We did it two ways-- and both came out really pretty! First we used artichokes and then moved on to celery for a different look.
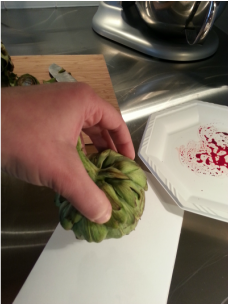
1. Cut tips off of the artichokes.
1. Cut tips off of the artichokes.
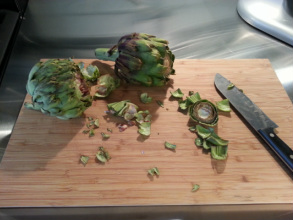
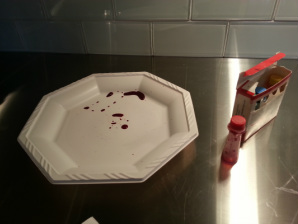
2. Squeeze a little red food coloring onto a paper plate. (Using food coloring instead of paint means the artichokes can still be cooked and eaten rather than just thrown away after this project!)
3. Dip cut end of artichoke into food coloring, swirling the artichoke around to ensure good coverage.
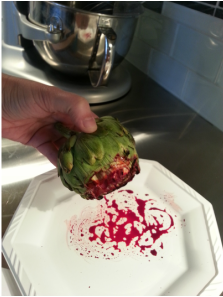
4. Press artichoke firmly on paper, making sure to apply pressure evenly for best results.
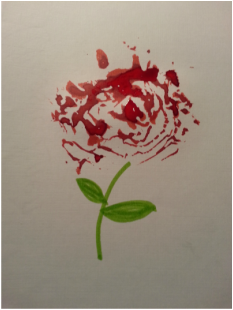
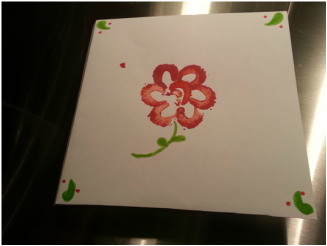
5. Add stem and leaves with crayon or marker to finish off your flower.
 |  |
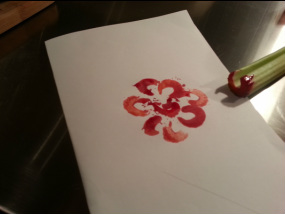
Here's a version we did using a cut piece of celery:
 |  |

 RSS Feed