Here's a quickie tutorial on creating a pretty art display in a snap.
It struck me as I was cleaning and prepping-- not only for the birthday party this weekend, but also for my mother-in-law's arrival (did I mention my m-i-l was coming from out of the country to visit for a while?)-- that the first floor hallway was bare. I had intended to hang something for a while, but never got around to it. Now was a good time to tackle this, right? Now, in the vortex of my party cyclone. I had a moment when things weren't completely crazy, so I figured I could spare a few minutes for art displays.
Materials
Wood (We had plywood on hand in the garage, so we used that. You could use any wood you prefer.)
Sand paper, 80 grit
Wood stain
Metal bulldog clips (I used 2 per board)
E-6000
Hanging mechanism (I used wood screws and speaker wire)
Wall anchors
The spare plywood we had was large enough that I could have Vern cut it into 3 equal pieces. I just wanted to be sure each piece would be large enough to frame out (or provide a backdrop to) a 12" x 16" print. Before any cuts were made, Vern measured the hallway space to calculate the appropriate size needed for the panels and the spacing required between each piece. Based on his measurements of the space, cuts were made so that each plywood panel measured 20" x 23".
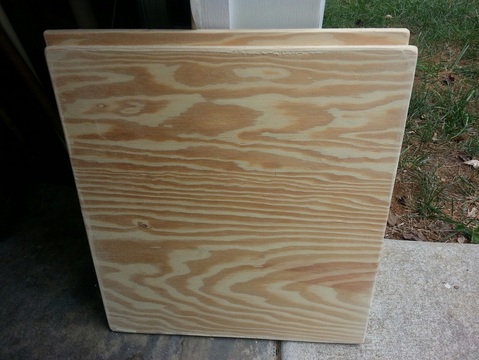
Next, I hit each piece with the 80 grit sandpaper. I used our electric sander to make the job go a little quicker. I made sure to lightly sand the face of each panel before rounding out the corners and softening the edges.
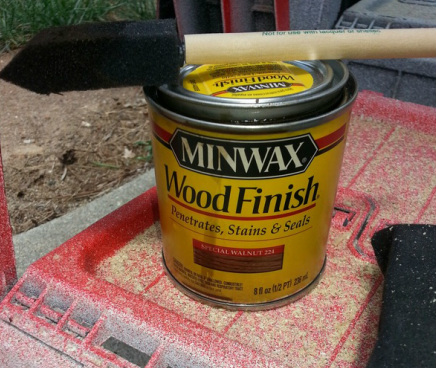
I cleaned off each panel and took a peak at my supplies. I had wood stain on hand, so I used what I had. It's my go-to stain: Minwax Special Walnut. It has a warmth and depth I just love. I applied with a foam brush, but you could just use a rag. Follow the directions on the container for applying the stain. You may want to apply more than one coat, depending on the color you'd like to achieve. Make sure to get the sides of your panel when applying the stain!
I cleaned off each panel and took a peak at my supplies. I had wood stain on hand, so I used what I had. It's my go-to stain: Minwax Special Walnut. It has a warmth and depth I just love. I applied with a foam brush, but you could just use a rag. Follow the directions on the container for applying the stain. You may want to apply more than one coat, depending on the color you'd like to achieve. Make sure to get the sides of your panel when applying the stain!
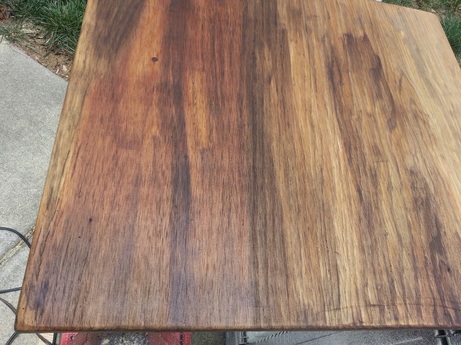
I followed the grain of the wood and used one coat, with a few extra strokes here and there to deepen the color.
Once the stain dried, I just needed to attach metal clips (2 to each panel) with E-6000. I eyeballed where I wanted my clips, and then I marked and measured so that each piece was consistent. On my board, that placement ended up being 5" in from each side and 5-1/2" down from the top.
I laid my panels completely flat, applied the glue, set the clips in place and allowed them to dry/set-up overnight.
By the next morning, they were ready to be placed in the hallway. We used woodscrews and speaker wire as our hanging mechanism, but you could just use whatever your usual method is. Be sure to use wall anchors as the pieces will be heavy!
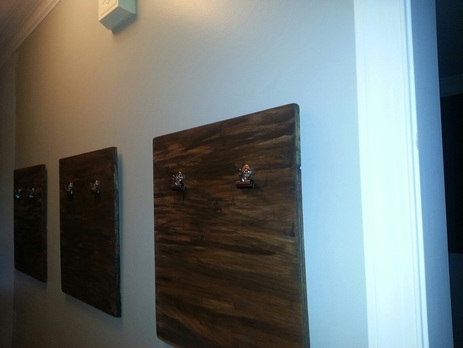
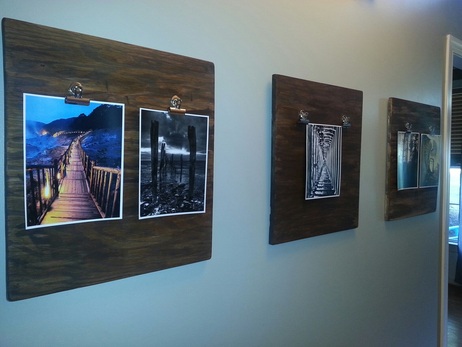
For the finished shot, I didn't have time to have my 12 x 16s printed up, so I just used what I had on hand, which was 8 x 12 photo paper. But...you can totally see the dramatic effect of the 12 x 16s in your mind's eye, right?

 RSS Feed